-
Posts
4,690 -
Joined
-
Last visited
-
Days Won
362
Content Type
Profiles
Forums
Events
Store
Everything posted by SilverDoctor
-

I Need New Wading Boots!
SilverDoctor replied to bigalcal's topic in General Chat - Fly Fishing Related
Still wearing my Korkers Chrome's, 3rd season and looks like they might make it through one more. Studded felt has given me great traction (I did my own studs). I believe I may go with Simms for the next round if my budget is there. I liked the Bola laces but I find that now the black inserts are starting to move out with the cables so I have to push them all back in place before every trip now (just happened this year). I'll go back to laces. I think I would be leaning towards the G3 Guides next. Been hearing some negative things about the Vapors as far as durability. Its always a tough decision with the price of equipment now. -
And emptied the pockets of Albertians. I seldom fish out there any more.
-
Haven't named this one yet but it did fool a few Browns this year.
-
Blue Fanwing Royal Coachman. Last of my blue hackle.
-
Your toppings which I have found to be often the hardest part are well nigh perfect.
-

Calgary Floods And Fishing A Look Back
SilverDoctor replied to bigfry's topic in General Chat - Fly Fishing Related
Yep we we only saw the odd fluttering individual. I think hatch cycles where also changed everywhere. -
Be sure to past your code into the image properties menu not into the main text area.
-

"cutthrout" Trout
SilverDoctor replied to RedBeard's topic in General Chat - Not Fishing Related (NFR)
Fixed -
Its called "going steady"
-
Thanks for posting, love those intimate waters.
-
Had a couple of emails so here's how to make your own yarn indicators. Nice thing is you can make a variety of colors or even color combos a bit of experimenting can be fun. Here's what you need Polypropylene Macrame Yarn or Bug yarn (lots of colors available you can even mix and match) O-rings - 5/16" OD (~8mm) for smaller indicators and 3/8" (~10mm) for larger indicators (you can find these at home hardware centers) I actully like a larger one for the tie on and smaller for the neck of the indicator Forceps Toothbrush (discarded) Slip an O-ring over the Forceps and then lock them on the end of a pre-cut piece of yarn pull the ring onto the yarn to the half way point slide another ring on the Forceps and grip the ring you put on the the yarn Slide this O-ring over the other one and onto the yarn Use the toothbrush to fluff up the yarn, you can trim it to shape if you want and add some floatant if you like
-
Did he take a Dry?
-
Oh God! never tell Mommy!!!
-
Let me know if anyone wants me to show you how to make yarn indicators.
-
IMHO - Regal is one of the finest vices out there. You will love it.
-

Fishing With Fiberglass Rods
SilverDoctor replied to SilverDoctor's topic in General Chat - Fly Fishing Related
Fly rods never go out of date only ads. -

Fishing With Fiberglass Rods
SilverDoctor replied to SilverDoctor's topic in General Chat - Fly Fishing Related
Drooling all over my keyboard -
Many of us are gearing down for the winter (although there are some opportunities through the winter for dedicated fishers). Its a great time to go through your gear and look at what needs to be replaced, repaired or more importantly cleaned. A good cleaning can do wonders and add life for all your gear including boots, waders, vests flylines etc.
-

Fishing With Fiberglass Rods
SilverDoctor replied to SilverDoctor's topic in General Chat - Fly Fishing Related
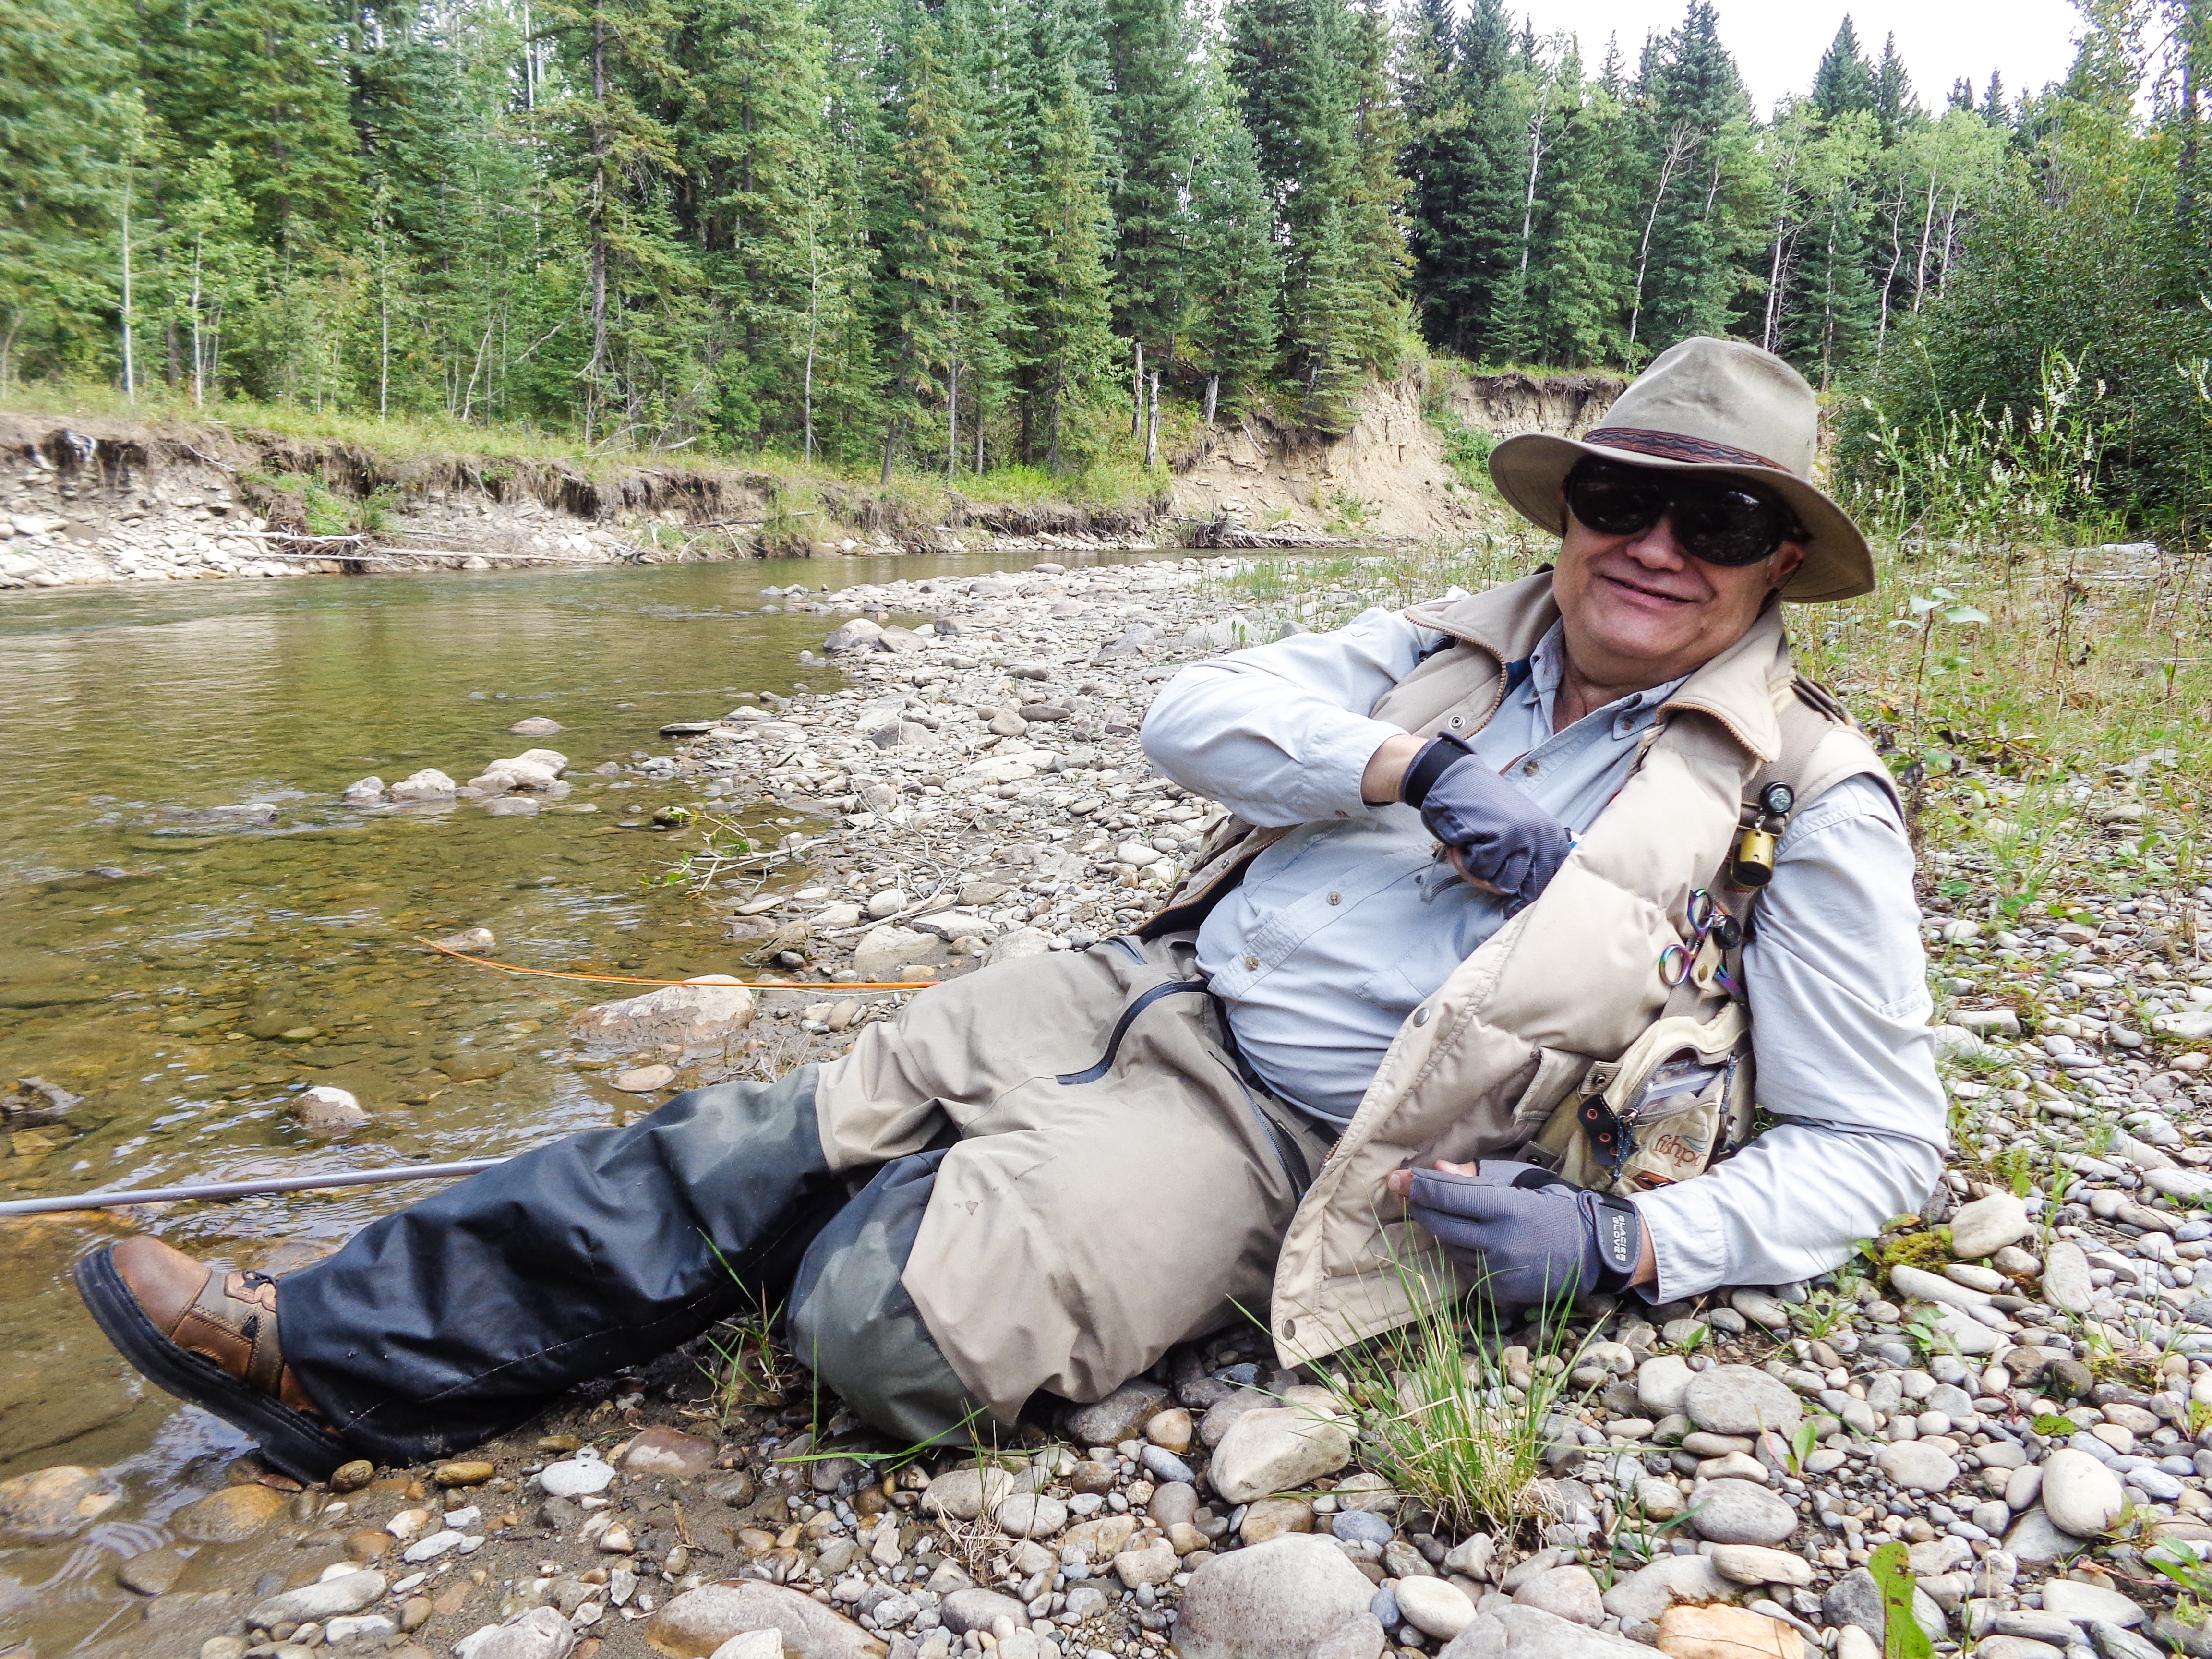
Sure Muha, the blanks arrived quickly, Mountain Brook was really great to deal with. I built 2 of them that where ready before last spring's season and I fished them through the year (while flowing waters where open), very nice blanks The first was a #7.6", a joy to cast all day, here are a couple of pictures. You really have to slow down your cast with these rods which may frustrate some people, but it also makes for a very gentle, quiet, accurate presentation. I had one Cuttie hit the fly before it settled the water. The cork on both are from Champagne bottles, I wanted an old world look and recycling is nice. You can see how I built this rod on my blog on my link below. The second Mountain brook blank was a #6' - 6" that I built for smaller waters with tight casting and overhead areas using tiny dries. Lovely casting for those small streams. It was really meant for Brookies. but those darn 20"+ plus brown's kept giving it a workout. Crusty Ol' Doc tossing feathers at trout much smarter then me, shows the flex in these rods -

Fishing With Fiberglass Rods
SilverDoctor replied to SilverDoctor's topic in General Chat - Fly Fishing Related
IMHO - Just depends what it is, Fly Rods can be awesome tools for casting or be great for tomato stakes. I find that the softer flex of Fiberglass and bamboo is much nicer for hooking and fighting Trout and laying out a gentle dry. They protect light leaders much easier and have more overall feel during the fight. Unlike the stiffer "performance" rods that cast a mile but have less after cast control. Don't get me wrong I own a few Sages and Loops that are wonderful in their own right but I love more than just fast and far. I often fish intimate waters for large browns, rainbows and cutts and for me that's where it they shine. Perhaps part of it was that I grew up with Fiberglass and Boo. -
-
Indicators, I always found they seemed to get lost or tucked away in my fly vest. I tend to use the plastic ones on deeper water rivers and lakes and the yarn ones I make for streams where I want a very sensitive presentation for nymphs. To keep them together a large safety pin is handy. Keeps them together in your pocket or bag and if you access them a lot, pin them to the outside.
- 10 replies
-
- 10
-

-
Yep that looks like the place.


